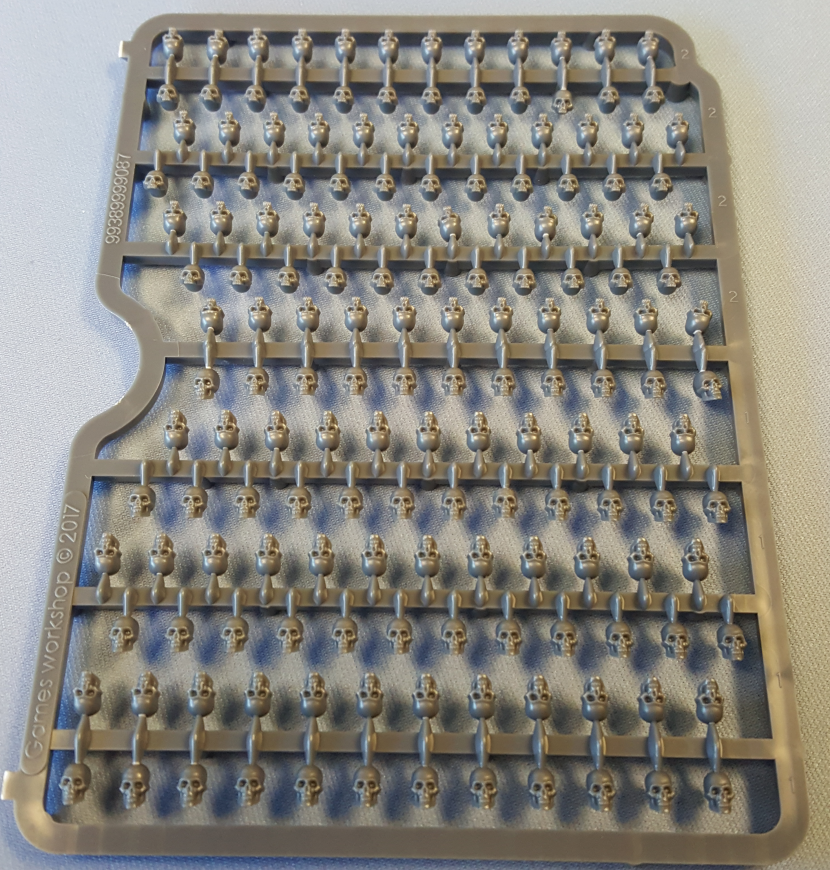
A Use for Skulls

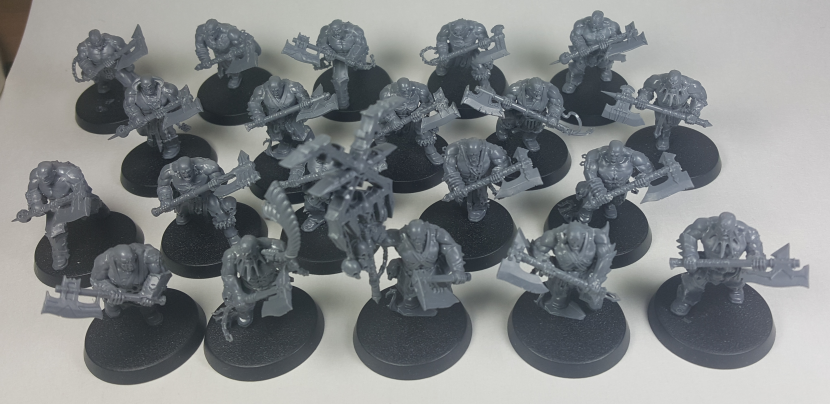
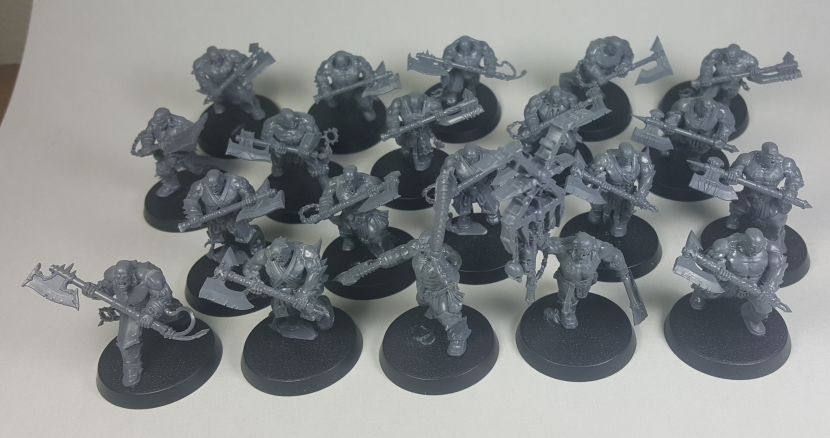
There are a lot of conversion opportunities presented in the Citadel Skull kit, so many that no one person can come up with all of them. That’s the beauty of our hobby, there doesn’t seem to be an end to the possibilities we can come up with.

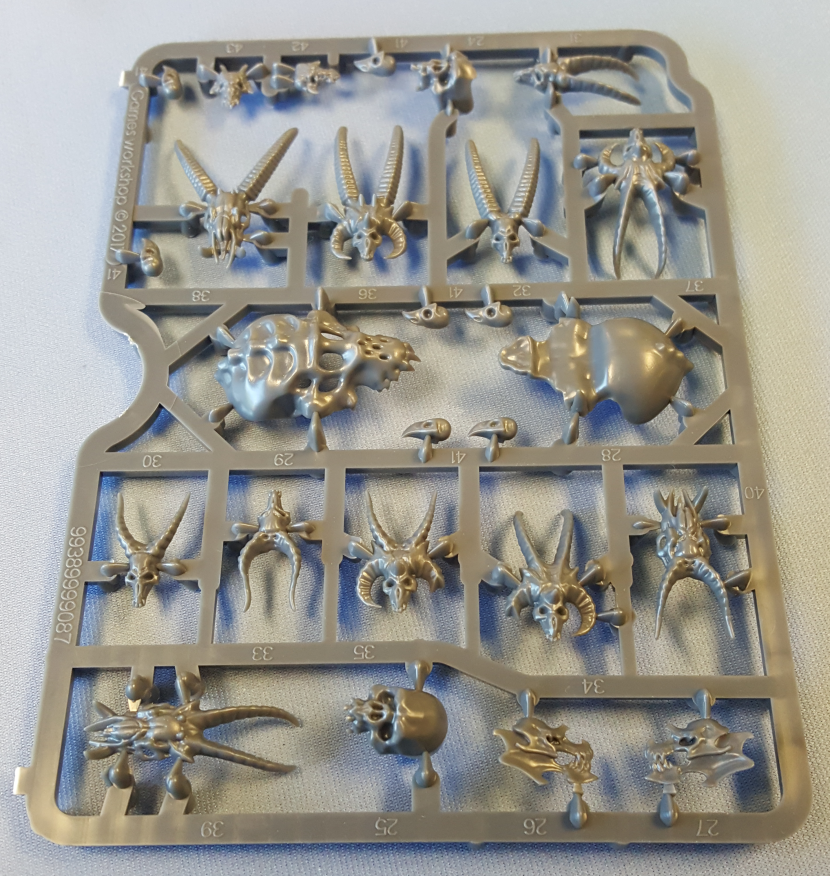
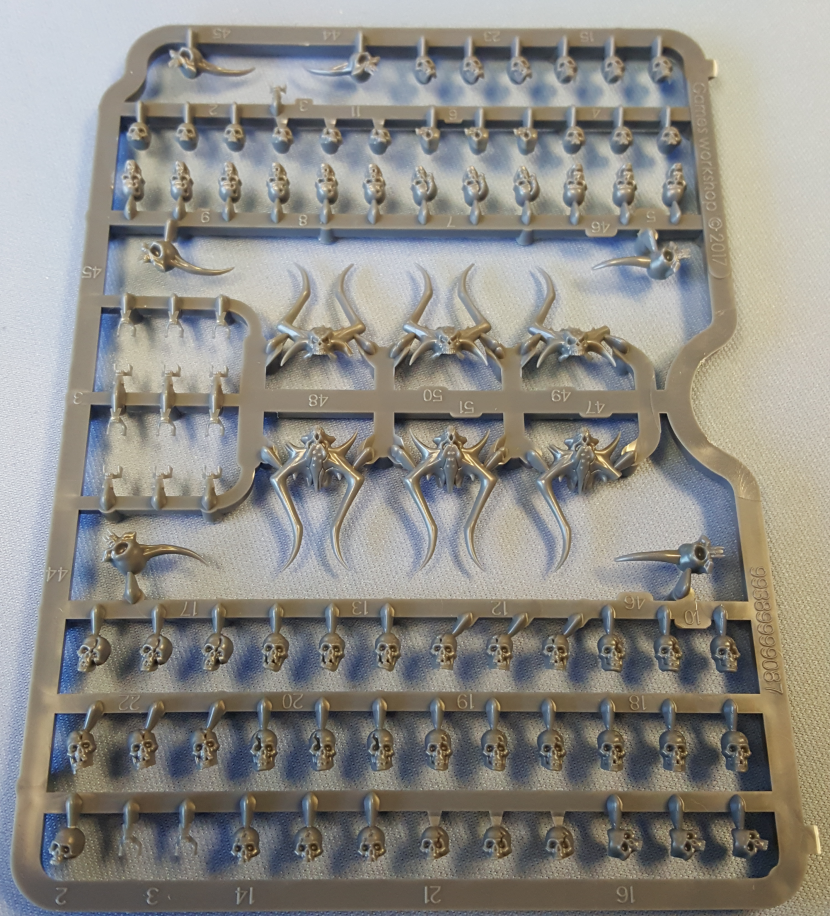
There are a lot of different types of skulls in this kit, so I’m not going to be talking about the Human and Ork skulls more than a mention here and there.

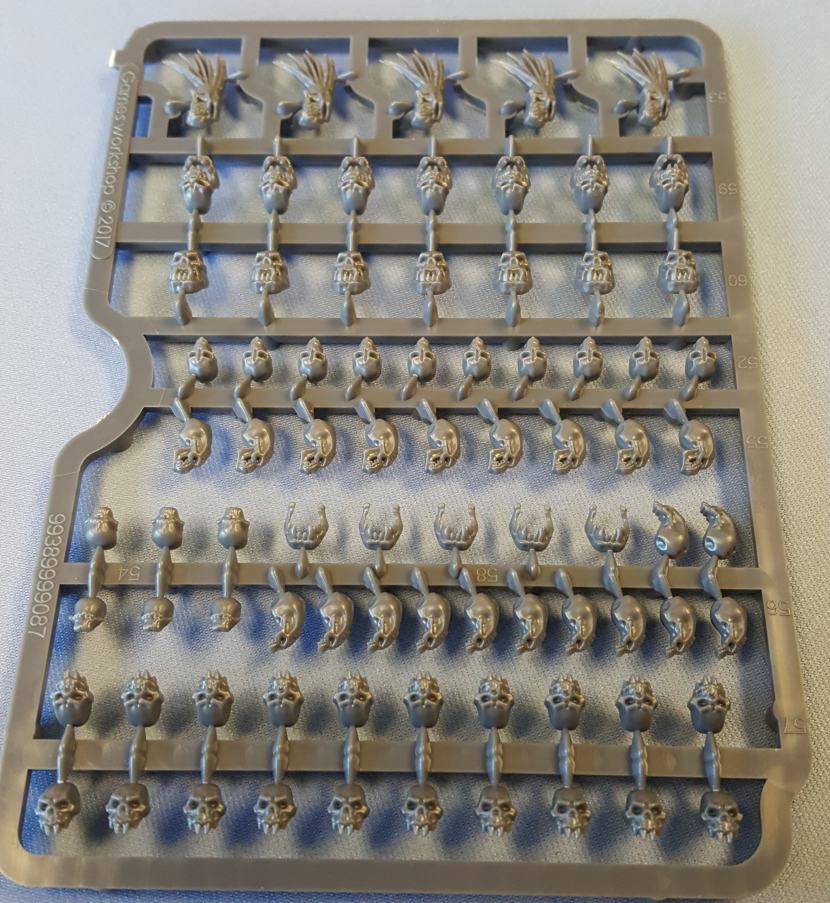
I’m currently working on a Nurgle Daemon army, and fortunately I’m building the Plaguebearers at the moment. The Plaguebearer skulls present a wonderful new bit to use in their construction. I plan on taking a couple of the skulls and carving out the back so they will fit on the necks of the daemons. After compairing them against the regular Plaguebearer heads the skulls are much smaller and will take some serious bulking out to look ‘correct’ on the bodies.

The skeletal nature of the skulls will be perfect for creating Plaguebearers that look like the flesh of their faces has sloughed off due to various skin diseases. Adding some Greenstuff to the skulls will add variety to the new heads.

A specific conversion that I’m looking forward to completing is a mostly skeletal face with a distended mouth gurgling the praises of Grandfather Nurgle. I can use one of the lower jaws from the human skulls as the lower structure of the mouth.

Another thought is to use one of the lower jawbones for the ork skulls instead because of the larger teeth. I like the idea of a horribly overgrown and deformed lower jaw that is slowly tearing the disease weakened skin and muscles away from the rest of the skull jaw with it’s weight.

Whichever I end up using I will have to strengthen the connection between the jaw and the skull with some wire which will also give additional strength and contact points for the Greenstuff.

Moving on to other skulls in the collection, the Bloodletter skulls offer some of the same kinds of opportunities. These will take a bit more work to build up the back of the Bloodletter heads as most of those are missing on the skulls, but the effort will be worth it to have a few skull faced horrors mixed into a unit of ‘normal’ daemon warriors of the Blood God.

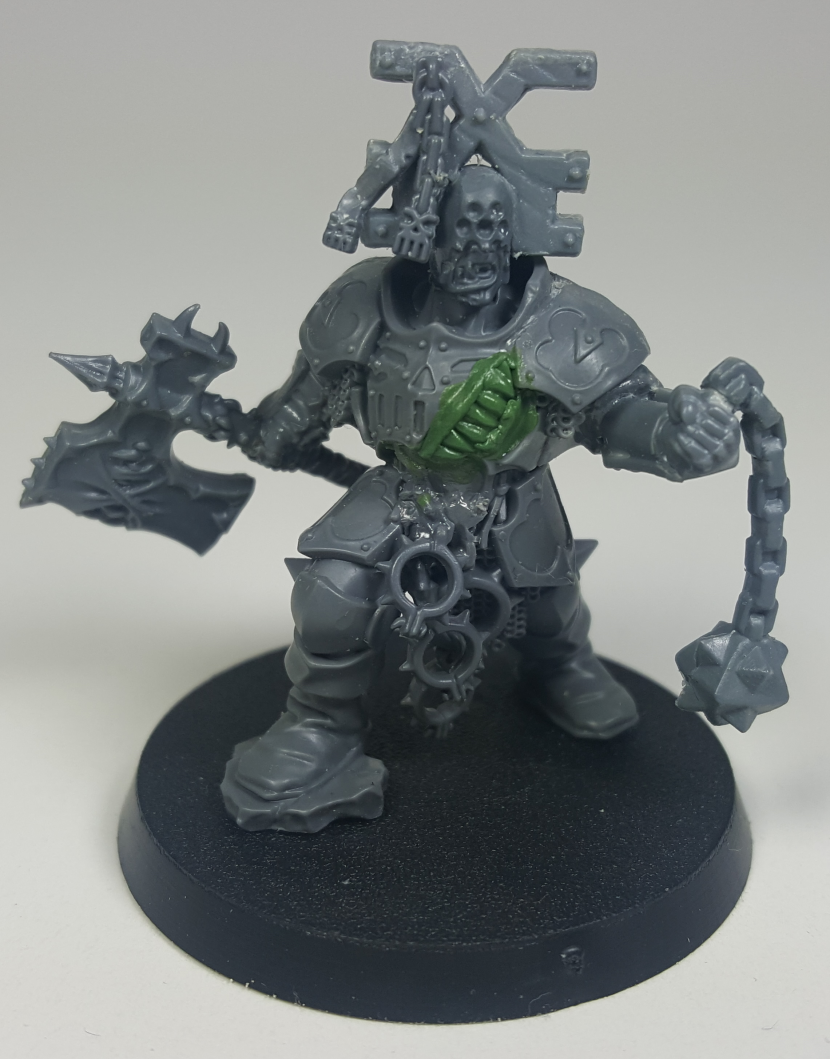
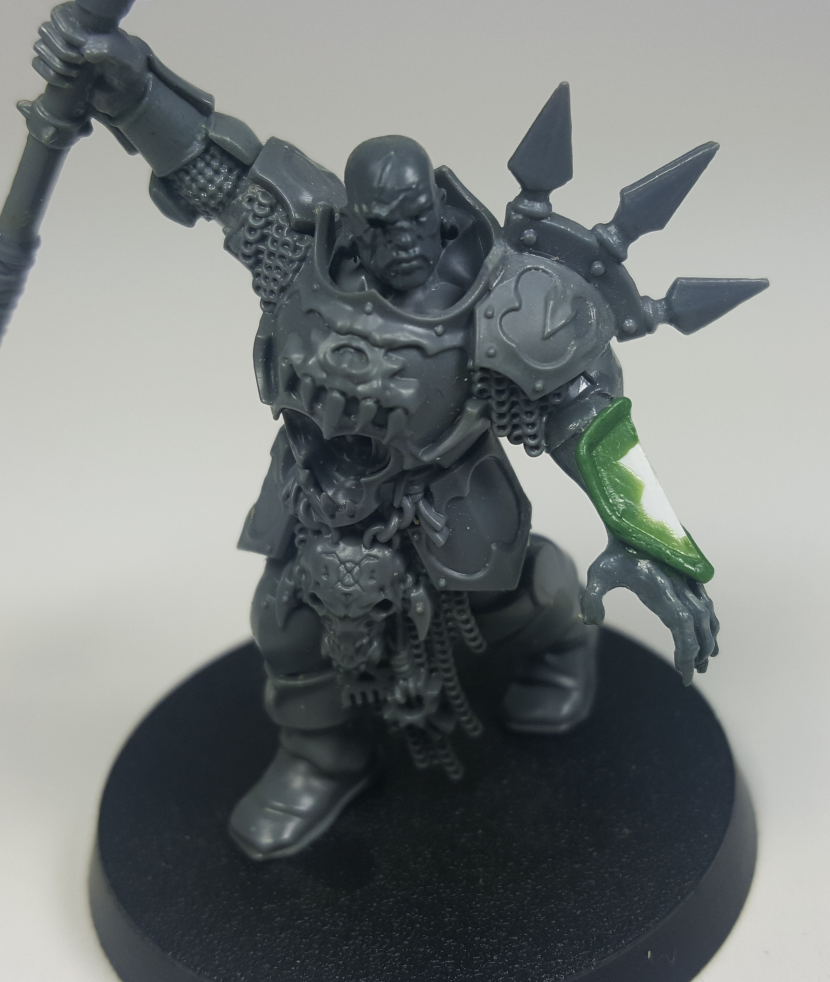
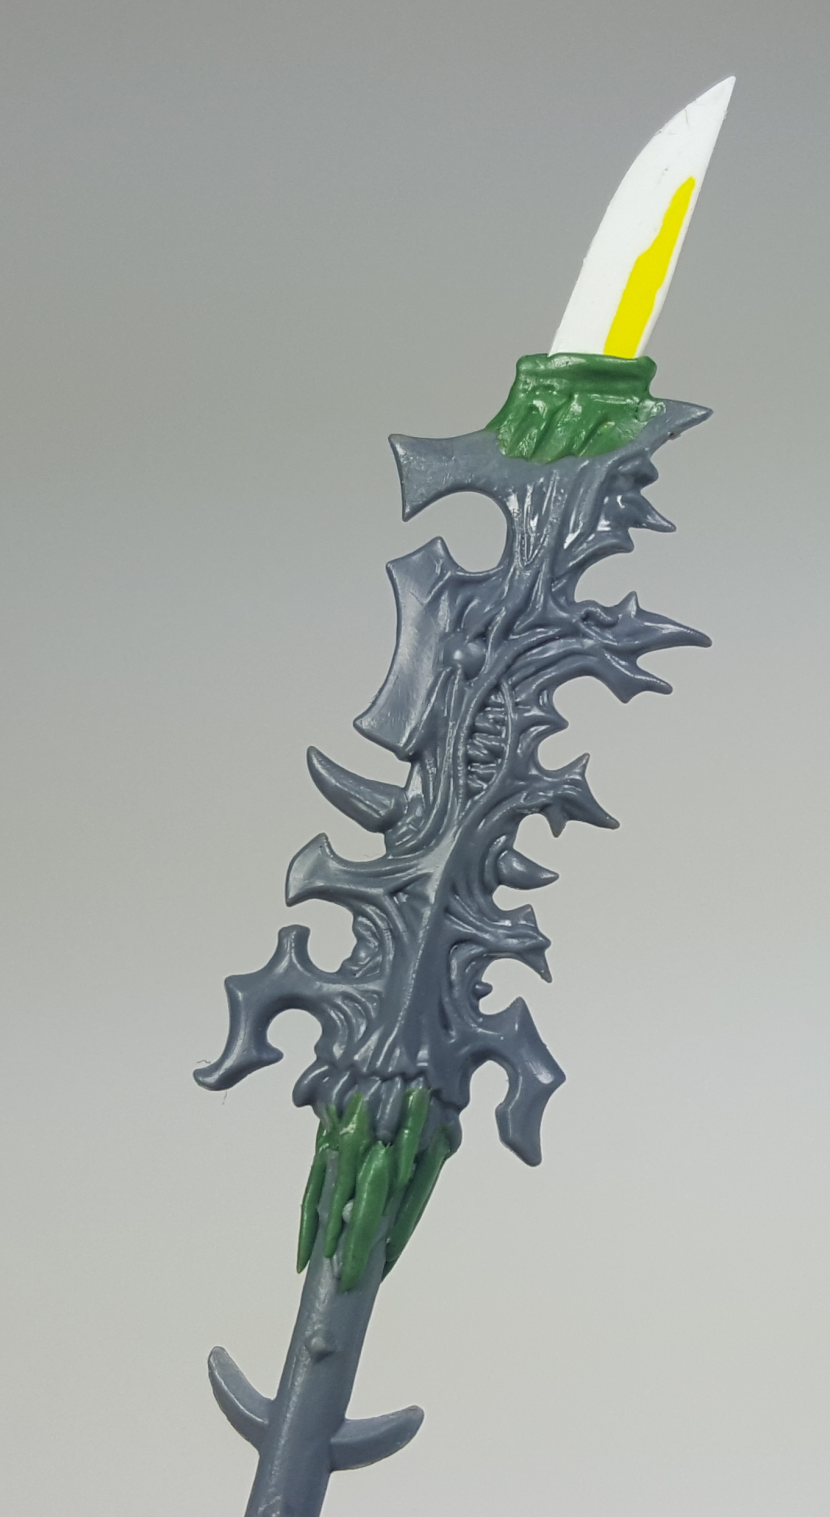
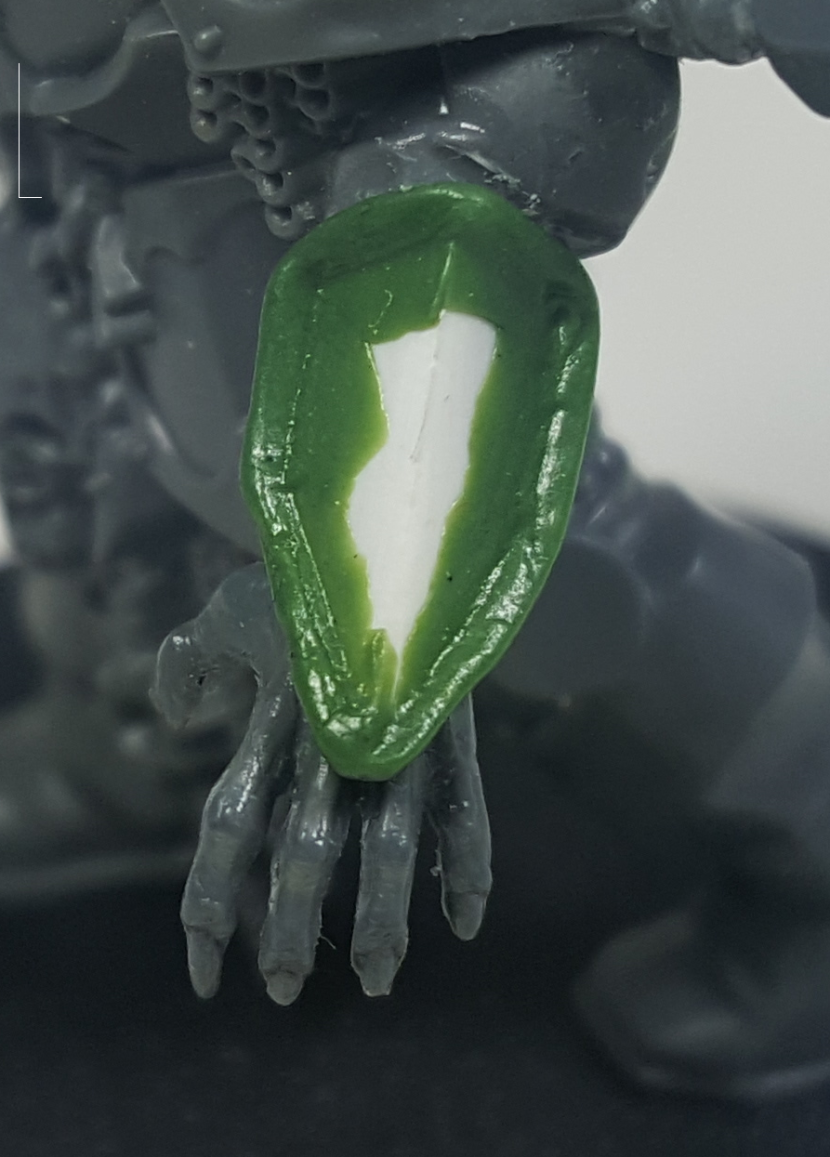
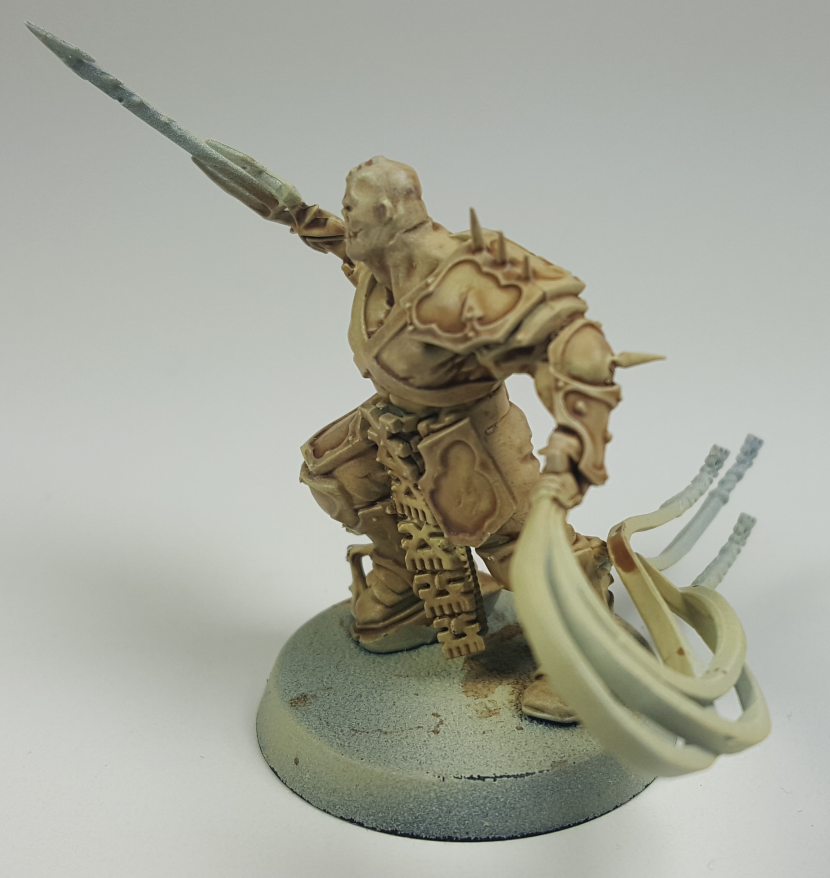
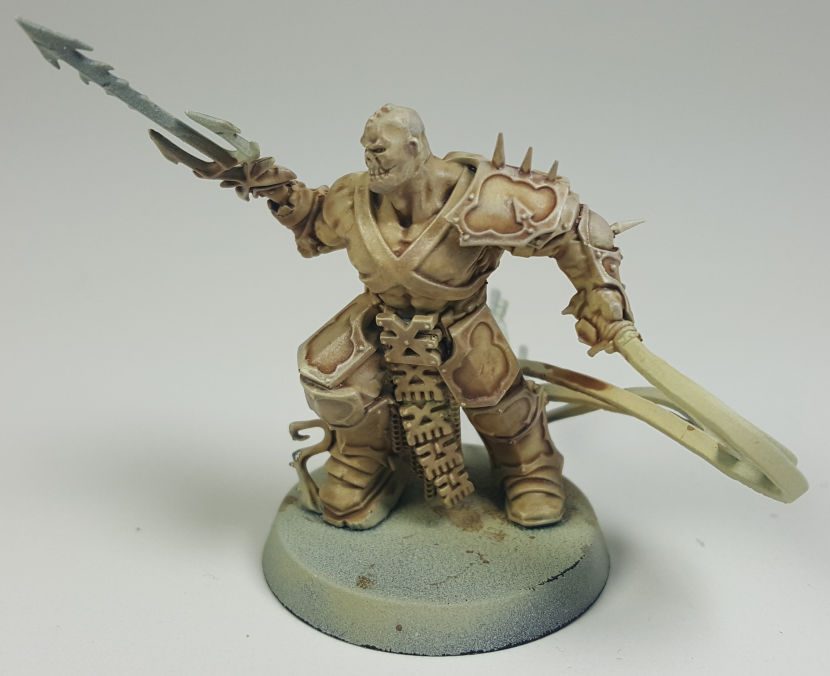
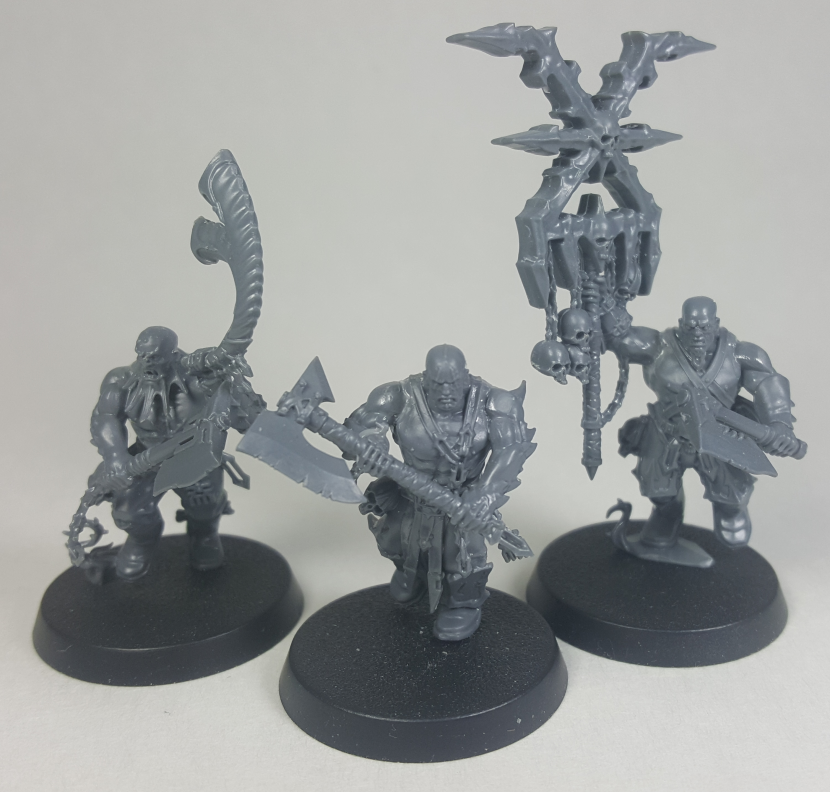
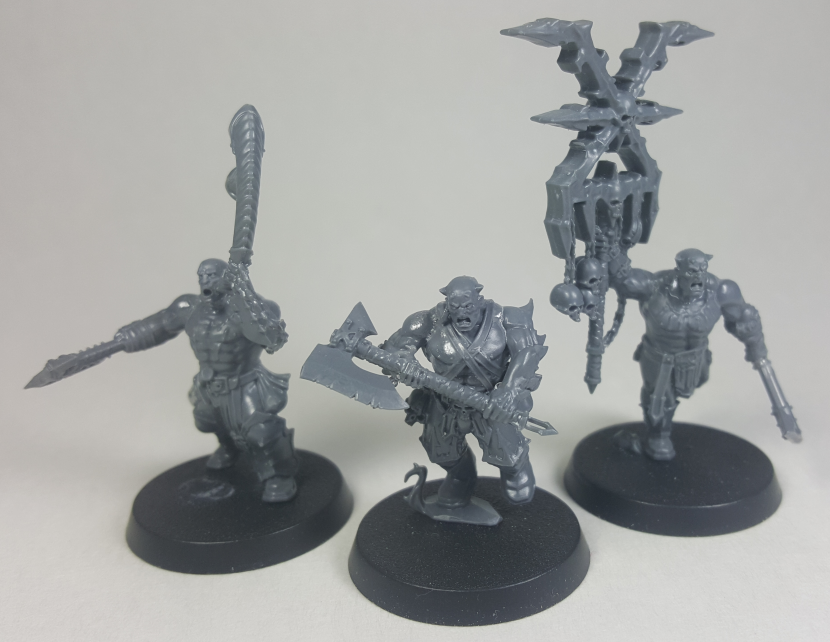
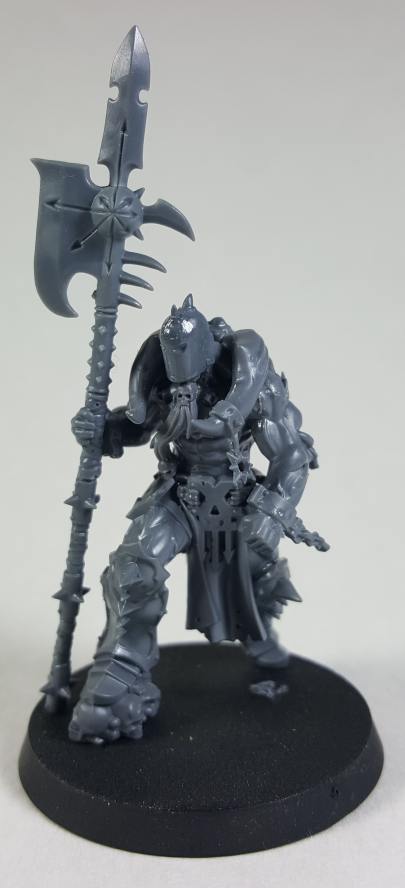
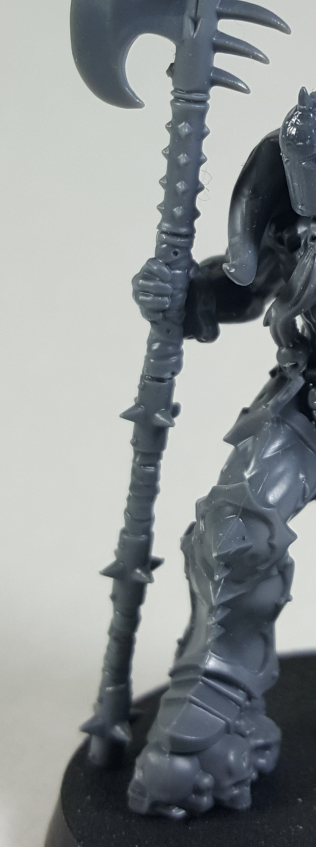
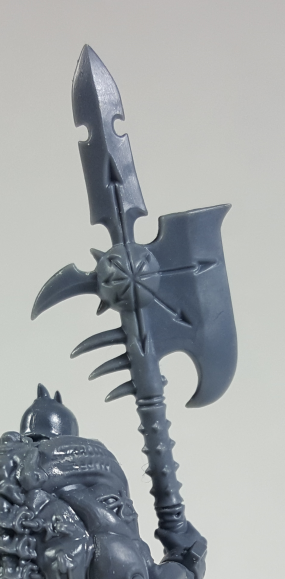
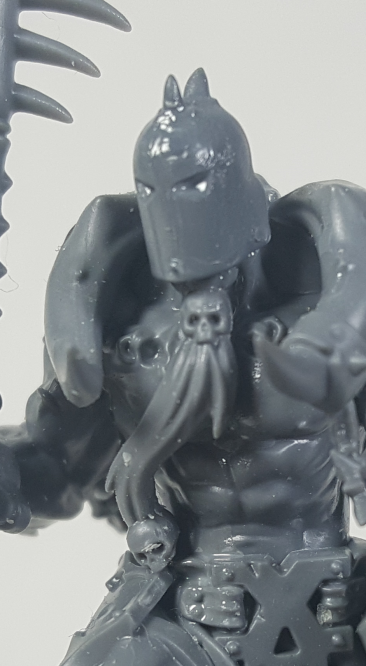
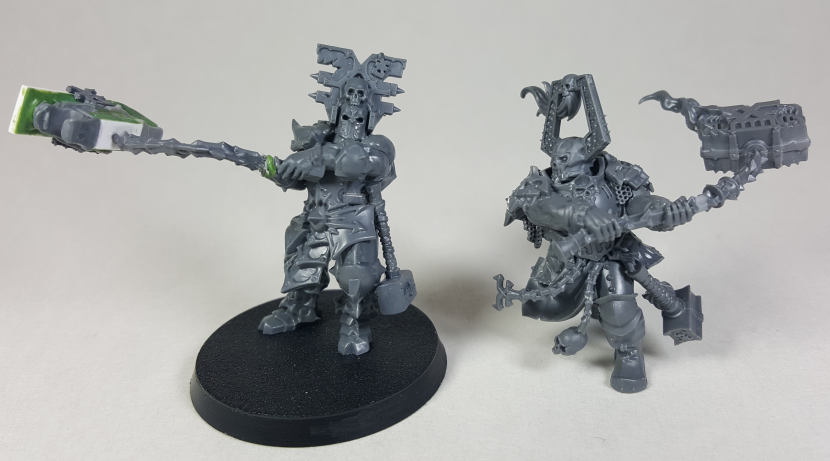
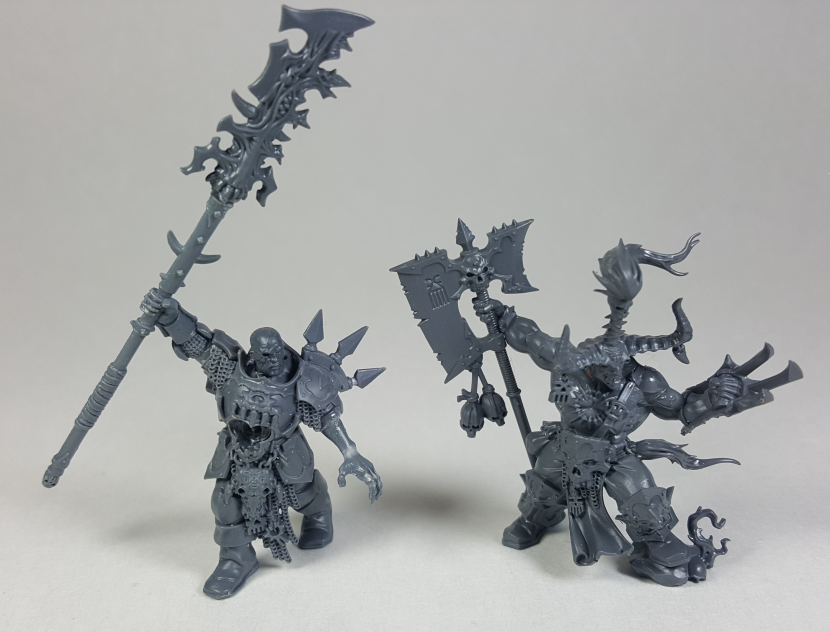
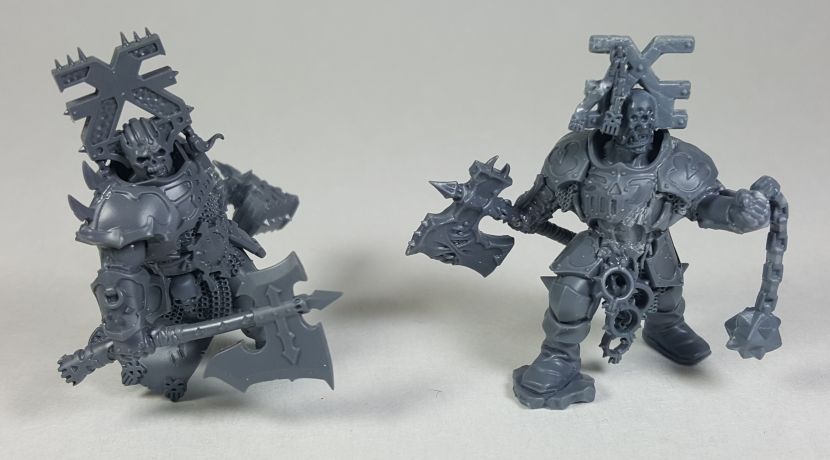
We also cannot forget the chance to use these skulls as decoration for armor. I mentioned this use in my last Bonelords progress blog post. I plan on using one to decorate some of the bear plasticard armor on my converted Exalted Deathbringer with Impaling Spear.

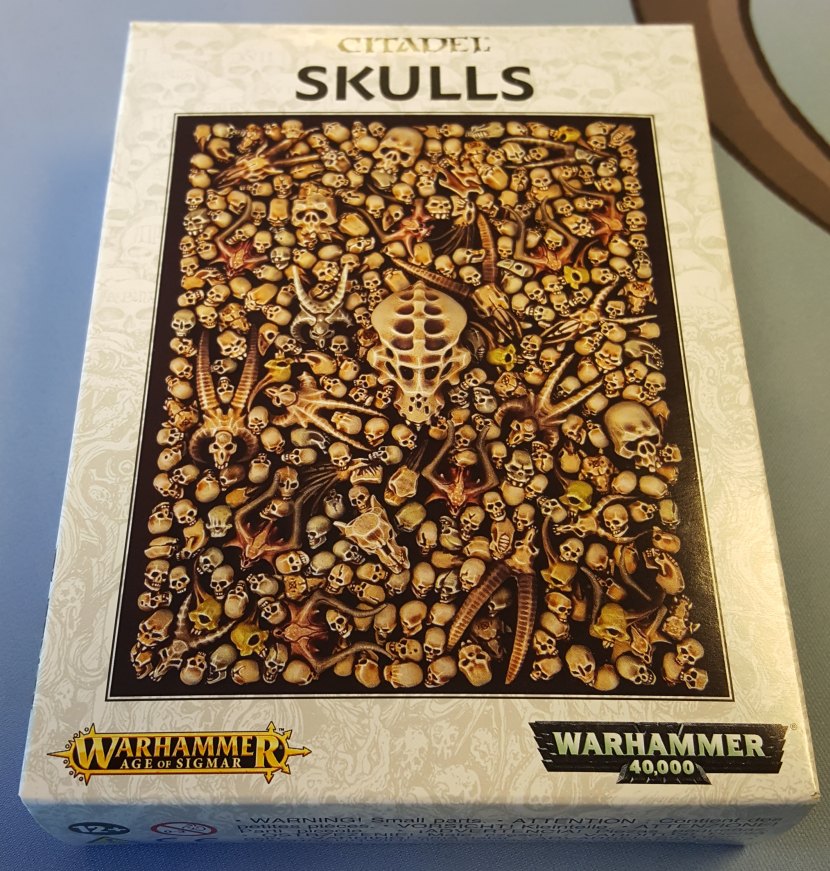
The Beastmen skulls are a great resource for one of the more common conversion styles found in the AoS28 community, building hybrid skeleton/Nurgle/dryad warbands for Hinterlands and AoS Skirmish. Most of them are too large to look convincing on groups of skeletons, but that’s never stopped a good conversion before. The skulls will also make great decorations for the now very powerful Herdstones of a Beastman army as well.

With some work the Kroot skulls could be used to make Tzanngor skulls. The spines would need to be cut and shaved down a bit as feathers aren’t made of bone and are held on a body by the skin, but some of the Tzanngors have spines growing out of their bodies, so that might not be such a big issue.

You could also use the bird skulls from the kit to make some Tzanngor skulls as well. If you were able to source a bird skeleton you could use them to make animated bird skeletons. They would also make for interesting heads for warpicks, warhammers, or other weapons.

The Tau skulls present less of a use for us AoS players, but the uses for 40k armies are obvious. Base scatter, kill decorations, objective markers, or even a helmetless Tau body sprawled out in death are excellent uses. You could even use the skulls to make servoskulls for a very radical inquisitor, or maybe as the head of a servitor slaved to the will of a Heretek Adeptus Mechanicus Magus.

The Tyranid skulls have the same possible uses as the Tau skulls. I plan on using at least one of them as the head of a leader of a Death unit that I’ve been working on off and on. I will of course shave off the crest bone of the skull before adding them to the leader of the unit.

The Ur-goul skulls present a bit of a challenge as the details are sadly not very well defined. If I use these for a project, I will be using a very small drill to deepen the nasal holes on the skulls. They would make effective bases for building your own Ur-gouls if you were able to strategically use Greenstuff to soften the sharp edges of the skulls and complete the missing nostrils. They’re missing their lower jaws, but the human jawbones could be used to fill in for the missing parts.

The Morghast skull is extremely detailed and could make for some absolutely amazing Death conversions. I can see the skull being used for a head on Daemon Princes or maybe even 40k Dreadnoughts.

The same could be said for the Giant skulls. They could be used as heads for all kinds of machines, monsters, etc. I’ve seen some really cool uses to create Giant zombies. Using them as the head of a Nurgle chaos Giant could also be very interesting with enough Greenstuff work.

The massive skull is one that is kinds stumping me. It could be used as the head of a massive undead or Nurgle beast. I could also see it in use for some kind of Khorne project. It strikes me that the top portion and facial area of the skull could be used to decorate a chaos chariot. If you really wanted to do some work you might even be able to make the body and face of a Nurgle Plague Toad out of the skull.

Well those are a few of my thoughts on the conversion options presented by the Citadel Skulls kit.

Thanks for reading!

Thoughts on the Citadel Skulls Kit

I don’t think I’ve been more excited for a Games Workshop release than I was for the Citadel Skulls kit that just came out. The converter in me did a little happy dance when I saw the announcement on the Warhammer Community site. 340 plastic skulls are a dream come true, and the variety of skulls GW included in the kit is staggering.

GWSkullsFrontCover

I’m still a little confused by the fact that there are daemon skulls included. I thought daemon bodies evaporated back into the Warp when they were killed, but apparently not. Maybe daemons work differently in 40k than they do in AoS? Although, I believe the Grey Knight Terminator kit included the severed head of a Bloodletter, so maybe my assumption about what happens to dead daemons was wrong.

Anyway, I’m really excited by their inclusion in the kit, and not only because they’ll make great base decorations. They’re going to make great conversion bitz as well. The Plaguebearer skulls are definitely going to be finding their way into my Nurgle forces, either as decoration or replacing the heads of some of the Plaguebearers entirely.

I have a lot of plans for the kit and the possible conversions I can do with the contents. I’ll be adding a reply to this post later detailing some of my thoughts because this initial post is going to be really long as it is.

For those of you who haven’t had the chance to see the sprues that come with the kit, I’ve included pictures of each below.

Sprue #1

GWSkullsSprue1

Sprue #2

GWSkullsSprue2

Sprue #3

GWSkullsSprue3

Sprue #4 (this one makes my OCD really happy)

GWSkullsSprue4

The detail level on these skulls is good. It’s not as sharp as some of the other kits I’ve seen, but the details are definitely not too soft.

The product listing on Games Workshop’s site lists the different types of skulls that are included in this kit.

– 82 human skulls with jawbones;
– 86 human skulls without jawbones;
– 15 human jawbones;
– 60 assorted damaged human skulls;
– 2 giants’ skulls;
– 1 Morghast skull (in 2 components);
– 1 beast skull (in 2 components);
– 4 small horned skulls;
– 4 medium horned skulls;
– 3 large horned skulls;
– 7 bird skulls;
– 2 Chaos beast skulls;
– 6 plaguebearer skulls;
– 6 Bloodletter skulls;
– 10 T’au skulls;
– 5 Kroot skulls;
– 6 alien skulls;
– 21 Genestealer Hybrid skulls;
– 20 Ork skulls without jaws;
– 5 Ork jawbones;
– 7 Ork skulls with jaws open;
– 7 Ork skulls with jaws.

Time to crunch the numbers.

I’ve shopped around for bulk numbers of skulls before this kit was released, and found a few companies that sell large numbers of skulls. Understandably, they are always in either metal or resin because plastic injection molding is still very expensive to get started.

Secret Weapon – Sack O Skulls – $15.00

Greenstuff World – 100x Resin Skulls – $11.90

Greenstuff World – 50x Resin Ork Skulls – $12.51

Greenstuff World – 50x Resin Burning Skulls – $8.48

Toad King Castings – Bag of Skulls – $11.53

Wargames Exclusive – Human Skulls in 28mm Scale – $12.80

These are all really nice quality from the looks of them, the only ones that I purchased are three of the Greenstuff World 100x Resin Skulls kits a few months ago. This isn’t the place for a review of these kits, but I might have to do a short review of them later.

Let’s do some per skull price comparisons.

Secret Weapon – Sack O Skulls comes with 50 loose skulls for $15.00. That comes to $0.30 a skull.

Greenstuff World – 100x Resin Skulls comes with 100 loose skulls for $11.90 at current exchange rates. That’s about $0.12 per skull.

Greenstuff World – 50x Resin Ork Skulls comes with 50 loose ork skulls for $12.51. That’s about $0.25 per skull.

Greenstuff World – 50x Resin Burning Skulls comes with 50 loose skulls for $8.48. That’s about $0.17 per skull.

Toad King Castings – Bag of Skulls comes with about 100 loose skulls for $11.53. That’s about $0.12 per skull.

Wargames Exclusive – Human Skulls in 28mm Scale comes with 64 skulls for $12.80. That’s about $0.20 per skull.

There are a lot of options out there for skulls of humans, and even some for ork skulls. Sure, some of these kits are most specialized like the flaming skulls from GSW, and the skulls with bionics from Wargame Exclusive. For many that may be a significant difference, but comparing the price per skulls, product material, and variety of skull types the Citadel Skulls set blows them all out of the water.

The Citadel Skulls kit comes with 340 loose skulls for $25.00. That’s about $0.08 per skull. That’s 33% less than the least expensive kit from one of the other companies shown here.

If we only count the human skulls in the kit it’s still a better deal. There are 228 human skulls in the GW kit. If those 228 skulls were sold as a stand alone kit for $25, that would be $0.11 per skull.

And the GW skulls are plastic.

If I ever need specialized skulls like the flaming skulls from GSW, I’m certainly willing to pay the extra $0.09 per skull so I don’t have to sculpt fire on 50 tiny skulls, but for plain skulls the GW kit has the game locked down.

What do you think?

Detailing a Job Started

I finally got down to business and did some more work on the converted Aspiring Deathbringer and Exalted Deathbringer with Impaling Spear. If you remember the first posts I did on these two conversions I mentioned that I wanted to do some Greenstuff work on both of them to complete their details.

AspiringDeathbringerGreenstuff2219x2913

The only thing that I wanted to complete on this guy was to cover up the gap that was left in his breastplate from the conversion work.

I ended up taking a blob of Greenstuff and filling in the gap. While it was still workable I created a set of closed teeth by cutting in a zig-zag line in the Greenstuff. I used a clay shaper to tease the edges of the teeth to be more rounded and smooth. I could have added more detail to the teeth to give them more detail, and I might use the tip of a hobby blade to cut that detail into the teeth now that they are dried. To be honest I’m not sure if I trust my skills to not ruin the look I have now.

I took two short snakes of Greenstuff and laid them over the base of the teeth to create a gumline. I blended the back edges of the Greenstuff into the armor to help it look like the gums grew up out of the armor.

Using a clay shaper I placed small indentions along the gums between each tooth so it looks like the teeth actually pushed out of the gums and deformed them, like real teeth. I think I did okay with this, but I’ll know for sure when I start to lay paint down.

ConvertedExaltedDeathbringerSpearFrontwArmor2489x2945

The two areas I wanted to work on this guy are the spear and the armor covering the left forearm. Sorry for the incomplete picture, I was focusing on the arm armor and not thinking about getting the whole mini in frame.

ConvertedExaltedDeathbringerSpearSpear1361x2489

I added a short length of plasticard to create a tip for the spear so it actually looks like it can be used to stab rather than simply hack away at the foe. I placed a short snake of Greenstuff wrapped around the base of the spear tip and blended the back end down into the rest of the spear blade.

I rounded the top of the Greenstuff off with then intention of making it look like the spear tip grew up out of the body of the blade. I plan on painting the center of the blade to look like a gumline which will make the blades and teeth look like they grew up out of some strange, daemonic jawbone latched on to the end of the spear.

I think the gumline around the spear tip is still too thick and doesn’t blend very well with the rest of the spear, but that’s more a symptom of my developing skill with Greenstuff. I don’t think I’ll bother to redo it as I’m actually okay with it as a learning experience.

The base of the spear head was my next target. The origional piece had teeth reaching down the handle and when I did the conversion some of those teeth were cut in half, so I wanted to replace those cut down teeth and extend them farther down the spear.

I took some more short snakes of green stuff and massaged them into place around the base of the spear. I tried to vary the length of the teeth and maintain their rounded shape, but some of them ended up uneven and don’t taper down to a tip that I like.

I will probably remove some of the worse offenders and redo them. I will also take this time to add some additional teeth to help fill in gaps and bad blending work. I’m not sure if I’m going to add and addition Greenstuff around the bases of the teeth to make another gumline, but who am I kidding? In for a penny, in for a pound.

This will help sell the appearance that the spear tip is some weird Khornate entity that latched on to the end of the spear like a lampray. It now lives off of the blood that is split by it’s own blades and teeth. If the Deathbringer doesn’t supply it with blood often enough, there’s always the Deathbringer himself to hand if it gets hungry.

ConvertedExaltedDeathbringerSpearArmArmorDetail893x1245

This was my first attempt at adding details to blank pasticard and honestly I’m not happy with the direction I’m going with it, but it’s progress of a kind and I took the photos so I’m showing it to you anyway. I was working on rounding out the edges of the armor and blending the inner edge of the greenstuff back into the center of the armor. The problem I have is that it ended up looking uneven and softened the edges of the armor too much.

I think I will peel the Greenstuff off the armor and start over. I just picked up the Skull kit that GW just released (okay, okay I picked up three. Because SKULLS!) I’m thinking of using one of the Bloodletter skulls, cutting down the back of the skull, and blending it into the armor. This will let me add some really cool and unique detail to the armor while stil developing my blending skills with Greenstuff. I’ll be using a sanding tool to smooth out a couple of the rough edges of the armor to they’re more uniform as well.

Well that’s where they stand at the moment. Let me know what you think.

Thanks for reading!

Failure is an Option

In an effort to be more efficient during painting the Bonelords I picked up a can of Rustolum Gloss Ivory Spray Primer. My train of thought was that this would allow me to combine the steps I use to prime and basecoat the models. The time savings would only be a few minutes but that can add up over several batches, so I figured that it would be worth it.

Back when I used rattlecan primer all of the time I used a cardboard box to shield the models from wind and to have a contained area to set them up in. This let me set up around twenty smaller models so I could prime them all at once. This changed when I started using an airbrush. The spray pattern from the airbrush tends to be narrower than a rattlecan. It allows for more control but priming large groups of models is more difficult.

This time I didn’t have a box large enough to use when priming the models with the spray paint so I grabbed a paint stirring stick from the Home Depot (they sell them in packs of ten for less than a dollar) and I wrapped painters tape around the stick. This let me mount four models on each side of the stick. Not as good as twenty at a time, but it was more than I’ve been able to prime at once with my airbrush.

It took the stick outside and shook the can for a couple of minutes. Now, the weather was fairly hot for Oregon, over 90 degrees F so that probably contributed to the result, but I tried it anyways. It was a disaster. The primer didn’t attach to the model smoothly. It was as if the pigment wasn’t evenly distributed in the paint medium. And the coverage was terrible. The only way that I could get good coverage on the models was to spray them several times, and that started to fill in the details of the models. At least one of the passes was too far away from the models and ended up drying part of the way to the surface leaving a slight pebbling covering parts of the models.

I’m fairly sure that I’ll be able to strip the primer from the models, but I’m not trying that again any time soon. This time is would have paid to grab a plastic spoon or a trash model and trying the primer on that first.

On the successful side of this experiment the tape covered paint stick worked like a charm. The tape is strong enough to hold the plastic minis in place even when they’re upside down. Determined to salvage something I prepped another painting stick with tape and models. This time I used my airbrush to prime the models, and it worked amazingly well for both the priming step and the basecoating steps. With a couple of paint sticks I’m going to be able to prime and basecoat entire batches of models, so that’s nice.

Thanks for reading!

Systematic Painting

Currently the Bonelords contain close to 200 models, and the majority of them are unpainted. My current plan for getting as many painting as possible is methodical by design, but it could very well get a little confusing as I go.

Currently my proposed painting system for the Bonelords looks like this:

  1. Set up batches of models in groups of ten. Set all but one batch to the side and place the current batch on my desk. Depending on the total number of models I’m working on during this session the amount of time this takes fluctuates.
  2. Prime each model with my airbrush. This typically only takes me a couple of minutes to do because while I’m waiting for one to dry I move to the next. Using the airbrush gives me a lot of control over where the primer goes and how much ends up on the model so I don’t fill in any of the detail.
  3. I mix up my basecoat and thin it down so that it will flow through my airbrush correctly. I’ve used pure water in the past and it works well, but using too much water causes the acrylic medium of the paint to separate from the pigment. I’ve started using Vallejo Airbrush Medium lately, and because it’s an acrylic medium I don’t have to worry about the paint separating when I thin it out. The mixing only takes a couple of minutes.
  4. I apply the basecoat to each model individually just like I apply the primer. Again, this only takes a few minutes. Usually this color is the primary color for the model as take takes care of the majority of the basecoating work for the model. It is very effective on models that are mostly one type of material, like the armor for Blood Warriors or the skin on Bloodletters. Understandably the workload reduction isn’t as effective on models that have a heavy mix of materials like the Bloodreavers and Bloodbound heroes which are close to half armor and half skin.
  5. I apply a wash to the entirety of each model making sure to focus on the armor sections. This also helps to separate details from each other to make basecoating te details in later steps easier. Allowing the wash to dry properly can take a lot of time so I typically move this batch to the side and start work on the next batch of models.
  6. Once the wash is completely dry I start drybrushing both highlight colors for the armor on the first batch of models while the wash dries on the other batches. This can take a couple of minutes per model to make sure the drybrushing is getting all of the details of the armor.
  7. Using a brush and thinned down paint I basecoat the rest of the model’s details. This is the most time consuming step of the entire process as I need to apply multiple coats of thinned down paint to avoid brush strokes in the finished paintjob. While these layers are drying I finish the drybrushing on another batch of models
  8. Once all of the batches have their details basecoated I return to the first batch and start washing the details one color at a time. While one color’s wash is drying I move to the next batch and wash their details with the same color. Repeat until all of the details have been washed on all batches. The washes are in different sections of the models so the drying time for each section isn’t as much of a worry.
  9. When the washes are completely dry on the first batch, I start to highlight the details one color at a time. When the first batch is done I move on to the next. This step is grueling but the job is almost done.
  10. MATT VARNISH!!!

Whew! So that’s the system that I’m planning on using, but like the saying goes, “no battle plan survives contact with the enemy.” We’ll see if this actually works out or not.

Finding fast and more efficient methods of getting miniatures on the table is something that I’m putting a lot of thought into. I’ve played around with using masking tape and silly putty to cover sections that I’m not working on and then using my airbrush to basecoat the larger detail sections, but making sure the masking is applied correctly can take a while. I’m not sure it really saves me much time. I’ll have to try it again and time it.

Thanks for reading!

Painting the Bonelords’ Armor

I’ve been asked by a couple of people how I paint the bone armor of the Bonelords. This is not going to be a complete how-to on painting the Bonelords. I’m not happy with any of the ideas I have been working on, so none of them are actually done.

First, I use Vallejo Surface Primer Grey to prime the model. Once I have an even coat of primer on the model, I set it aside and allow the primer to cure. Even though the primer is dry to the touch soon after application, it’s not fully cured and adhered to the plastic so I let it sit for a while. This typically doesn’t extend the amount of time I’m spending on a project since I work on multiple models at a time, so it usually takes plenty of time to get back to the first model.

ConvertedBloodStokerPrimed2857x2393

After the primer has dried, I add a layer of Menoth White Highlight over the entire model. This gives the base color for the bone effect. This can be done with a brush, but I use my airbrush so I can power through groups of models at a time.

ConvertedBloodStokerBase2961x2337


Once everything is dry, I apply a heavy layer of Army Painter Soft Tone Wash from their Warpaints dropper bottle line of paints. I use my brush to make sure that no large pools of wash accumulate on the model. I don’t worry about smaller pools of wash because I like the uneven result. It feels like a more natural look to me. It’s amazing how much of a difference the wash makes in the overall color of the miniature. Then I let the wash dry for a good hour or so.

ConvertedBloodStokerBaseWashed2817x2249

After the wash has dried, I drybrush over the whole model with Menoth White Highlight. When I drybrush I make sure to wipe the paint off the brush with a paper towel until no paint comes off the brush at all. This means the paint is almost completely gone and almost completely dry. The drybrush brings all of the sharp edges of the armor back to their original color so they stand out against the washed armor.

ConvertedBloodStokerBaseFirstDrybrush2305x2441

For the final drybrush I use Vallejo Model Ivory and prepare it for drybrushing in the same manner as the first layer of drybrushing. Then I apply it only to the upper most edges of the model. I also make sure to only hit the edges on the downstroke. That way the final highlight only hits the top of the edges and not the underside.

ConvertedBloodStokerBaseSecondDrybrush2689x2193

And that’s it! The armor sections of the model are painted.

I especially like the very slight streaking that the drybrush creates on the armor. It gives additional texture to the armor, almost like a grain along the bone so it’s not clean looking. I make sure to thoroughly dry the paint on the brush because if it’s not dry enough the streaks will be thick and chalky looking.

I’ll make another post covering each step of the paintjob as soon as I’m happy with the final version. Right now I’m still debating on the colors of the metals, and the skin.

A Horde of Blood, Part 2

Last post I gushed over the sheer number of different combinations that can be assembled from the Bloodreavers kit. For this post I want to talk about some of the standout bits.

One of my favorite parts is the hornblower head. The mouth is open and the cheeks are actually puffed out as if he’s blowing the horn. The horn itself has a mouthpiece that actually fits into the hornblower’s mouth!

Even though I say that it’s my favorite part, when I was building the minis I committed the cardinal sin of not reading the instructions, and I assembled the hornblowers “incorrectly”. They’re not positioned as intended and now I had two hornblowers with their mouths open and their cheeks puffed out, but not actually doing anything.

bloodreaverhorneblowerhead805x569

It looked a little awkward (okay, a lot awkward) so I shaved down their cheeks to try and make them look like they’re just shouting. If I ever put this kit together again I’ll be sure to assemble it “correctly” because I really like the idea of them actually blowing on the horns while charging into battle.

I was also quite happy with the fact that the kit included a number of left handed Meatrippers as well as the right handed versions. GW’s kits are usually pretty thin for left handed options, so it’s nice to see some well executed options in this kit.

One major complaint I have is that there’s no clear Meatripper Axe options for the hornblowers and banner bearers. The hornblowers can be equipped with a one handed axe easily enough, but the banner bearers have no options for a one handed axe held in the left hand. Without conversions, they would have to be given left handed knives.

To remedy this, I took a left arm that was holding an axe out of some leftover Bloodreaver bits. I was able to get it to fit more or less seamlessly, but it’ll still need some minor greenstuffing to fill a tiny gap or two. For the other banner bearer I had to cannibalize another extra arm and replace it’s knife with the upper portion of one of the left over Meatripper Axes. Here’s a picture of the results.

bloodreaverbanneraxe1221x1109

Here’s an extra helping of goodness. After assembling the kit with Meatripper Axes, it has another 20 heads, 20 sets of Reaver Blades, and a banner and horn left over. That means that were I to get my hands on another set of Bloodreaver bodies, I would be able to build another 20 Bloodreavers armed with Reaver Blades without having to shell out for another complete box.

Looking at the listings on Ebay I found that a set of x20 Bloodreaver bodies runs at about $15-$16 USD pre-shipping. I can’t think of another single kit that allows you to double it’s contents for only an additional 40% of it’s base price.

I have another two boxes of Bloodreavers that I’m going to arm with Meatripper axes. I could have another 80 Bloodreavers on my desk for another $80 USD with shipping instead of buying two more complete boxes for $232 USD before shipping. That will leave me with a total of 80 sets of Reaver Blades and Bloodreaver heads just begging for bodies. If I do hit up eBay I will have a horde of 200 Bloodreavers. 80 armed with Meatripper axes, and 120 armed with Reaver Blades…

Oh, and I’m pretty sure I have another half of the AoS Khorne Starter on the way from a trade with a buddy, so that means 20 more that I’m going to need to convert…

I’m pretty sure I have a problem…

Anyone want some custom converted Bloodreavers?

A Horde of Blood, Part 1

Author’s Note: I’m trying out a new layout for these massive blocks of text I tend to write. Though it kills my English Major heart, I’m breaking the text up into smaller chunks, and spacing them out so they have “whitespace” between them. This is suppose to make it easier to read on a phone. It also makes the entire post a little less intimidating at first sight.

I’m also going to begin splitting up the posts into more than one part so that each part is not as long of a read. Ill try posting twice as often to make sure I’m putting out the same amount of content though.

Let me know if you find it easier to read, if there’s a difference in your experience, or if it makes your eyes want to begin weeping and gnashing their teeth, tear their clothes, and cover themselves in ashes.

Over the past few days I assembled a bunch of my Bloodreavers. This brings me to a total of 80 assembled Bloodreavers, 40 from the two starter sets, and 40 of the multi-part minis.

I haven’t done any conversions on the 40 armed with Reaver Blades. They’re just the guys out of the starter kit so I didn’t really feel the need to get pictures of them yet. Once I start to convert some of them to get rid of duplicates I’ll start showing them off.

Meanwhile, here are two pictures showing the 40 armed with Meatripper Axes. Each one is totally different from his hordemates.

bloodreaverhorde24081x1989bloodreaverhorde13841x2029

I assembled this new group with the Meatripper Axes instead of the Reaver Blades because I felt it would be a good idea to have both options for list building to allow for the most flexibility.

The Meatripper Axes can definitely blast through heavier armor with their Rend -1, so I can use them for more elite armies, and the Reaver Blades allow for a lot more wounds to be dealt out for armies with large numbers of troops. At least that’s what’s going on in my head. I’ve not done the math to figure out which ones are actually going to be more effective the majority of the time. To be honest I’m not even going to bother doing the mathhammer because I’d rather just feel it out on the tabletop.

In related news, building the Bloodreavers was a total blast. The first thing that I noticed after removing the parts from their sprues was that these are not multi-pose models, unlike most of the models produced prior to Age of Sigmar. In the same way that Games Workshop’s newer plastic clam pack Leader and HQ minis can only be assembled one way, each part of these minis fit on to rest of the mini in only one way.

Normally non-multi-pose minis would mean that duplicates are quick to show when building large units of models. However, Games Workshop built these kits with so many different torso, leg, arm, and head combinations that I was able to produce 40 completely unique Bloodreavers without a single duplicate.

bloodreavercommand23001x2865bloodreavercommand13721x2881

In addition to the sheer number of parts they’ve included, they’ve also found a way to make the models appear more dynamic than previous kits. Instead of a flat surface

I simply cannot get over how much skill and care went into this kit on the part of the sculptors. I know that a lot of the sculpting is done by CAD software which has allowed for far more flexibility in the design of miniatures, but the attention to detail that this kit must have required is amazing.

Another Priest of the Blood God

After purchasing Goretide I found myself with an additional Khorne Slaughterpriest. I had already started work on the first, and with my general distaste for duplicate models I knew that this one had to undergo the (hobby) knife to have a place at my table. I apologize for the lack of in-progress pictures, I had already finished the conversion before starting the blog.

Here’s the finished product:

slaughterpriestfront1777x3897

The main challenge was to take the base model and alter it’s visual profile enough to allow it to stand out from the official model, but make sure that it was still recognizably a Slaughterpriest.

The first step was to change up the axe so that it wasn’t held across the chest anymore. I removed the lower section of the weapon that had the second hand on it and test fit the upper hand portion so that it was holding the axe perpendicular to the ground, and thankfully fit perfectly.

slaughterpriesthaft833x2233

This left the axe far too short to be a Slaughterpriest’s axe. The fluff describes their axes as being taller than a man. I took a section off of an extra Blood Warrior standard and pinned it to the bottom of the axe to extend the haft down to the ground. This makes it look like the Slaughterpriest is resting the end on the ground.

slaughterpriestaxe945x1921

Seeing that the end of the axe was significantly different from the official model, I decided to change the head of the axe as well. I took the axe head from the Chaos Chariot Lord and pinned it in place of the origional axe. This extended the entire axe to aove the Slaughterpriest’s head. A truly imposing weapon of war.

slaughterpriestfist699x553

This left the other arm ending in a stump which simply won’t do for a devoted servant of Khorne. I grabbed one of the closed fists from the Wrathmonger kit and slapped it on. The fist looks a little small, but I think that’s more of a trick of the eye because the arm has a huge shackle/bracelet just where the hand meets the rest of the arm. I sized up the hand next to the hand that is holding the axe and they’re actually pretty close.

slaughterpriestbeard941x1713

The last bit I needed to change was the head. I couldn’t bring myself to use the same head, so I started to dig through the ol’ bitz bin again. I shied away from the Wrathmonger kit as I’ve been using that kit for a ton of stuff already. I also knew that I wanted to use a helmeted head for this guy, but I didn’t want to use another bunny eared helmet. Once again the Forsaken kit came to the rescue. There are a few pieces in that kit that I simply cannot stand, but I like to keep around to see if I can ever find a way to use them in an interesting way. This was not one of those ways, but I did manage to use some of a part that I hate. So that’s nice.

Anyhoo, I cut the helmet away from the mutated neck and carved it down so that it would fit the neck of the Slaughterpriest. There was a large gap left under the helmet that would need to be filled somehow. Remember the Aspiring Deathbringer and the beard that I had removed from the original model? Yup! This is the project I used it on. It took a bit of carving and reshaping to fit correctly, but I think the end result works really well.

Overall, I think the finished model is similar enough to the original that it will be easily recognized as a Slaughterpriest, but it’s visually different enough to stand on it’s own. I hope you enjoyed this addition to my little project. Stay tuned for more!

Bonelord Leader Rollcall

I picked up a copy of Gorechosen as soon as it came out. The primary reason I’d been looking forward to this game are the miniatures that come with it. I’m currently focusing on either converting or purchasing each of the Bloodbound Leaders. The miniatures in Gorechoosen fill three of the ten Leader spots I need to fill for the Bonelords. Not only is the game a fantastic deal for the models, all the reviews of the actual game I’ve read have been really positive. The box itself is covered in beautiful artwork, and the artwork on the game pieces are equal in quality. The colors are incredibly vibrant and the pieces have a nice semi-gloss finish to them. The double-sided game board has two different arenas each with completely different art that includes a different set of impassible terrain.

Once I sit down and play the game I’ll be adding another far more detailed post about my thoughts on the actual game play.

Including the leaders that came with Gorechosen I now have:

  • A Mighty Lord of Khorne on foot with his Fleshhound (sans Fleshhound in this picture, sorry!)

khornelordonfootfront2849x2897

  • Two different Bloodsecrators, one Official and one Converted.
  • Two different Bloodstokers, one Official and one Converted.

bloodstokers3529x1913

  • Both official versions of the Slaughterpriest plus one Converted.

slaughterpriests3937x2801

  • Two Skullgrinders, one Official and one Converted.

skullgrinders4305x2393

  • An Exalted Deathbringer with Ruinous Axe and Skullgouger and a Converted Exalted Deathbringer with Impaling Spear.

exalteddeathbringers3457x2634

  • An Aspiring Deathbringer with a Goreaxe and a Skullhammer and a Converted Aspiring Deathbringer with Bloodaxe and Wrath-hammer.

aprisingdeathringers3177x1761

The next step is going to be an Exalted Deathbringer with the Bloodbite Axe and a Runemarked Shield. There is an existing model for this particular Exalted Deathbringer, but it’s an online exclusive from the Games Workshop store and it’s Finecast *shudder*. Converting is my favorite part of the hobby and half the reason I chose to convert the Leaders I didn’t own already, so converting this model is the most likely course of action I’ll be taking.

That still leaves the following Leaders to build or acquire:

  • Mighty Lord of Khorne on Juggernaut.
  • Skarr Bloodwrath.
  • Valkia the Bloody.

The Mighty Lord of Khorne has an existing model which is, surprise, an online exclusive from Games Workshop cast in only the finest of Finecast. That being said I already have an idea of what I’m going to do for this particular model. I’m still in the process of gathering the parts I need for what I want to do. That places him on the back burner for now.

Skarr Bloodwrath is included in the new Khorne Bloodbound Slaughterstorm box Games Workshop has re-released for the holidays. I’m planning on saving my ducats to grab it from my Friendly Local Game Store in the net month. I’m pretty sure I could use some of the legs and torsos from the Wrathmonger kit to whip up a nice looking converted version. We’ll have to see what takes my fancy later on.

Valkia the Bloody is also a online exclusive Finecast model. To be honest, I’ve never heard anything good about this model, even when she was available in metal. Apparently the scale is completely off from most of the Games Workshop line of Chaos models. Even before the release of the Age of Sigmar and it’s larger scale. That leaves me with one option, conversions! I could use a Daemonette for the base model. That would require me to source a set of appropriate wings, a spear, a daemonic shield, humanoid hands, alter the position of the legs and feet, and perform some extensive sculpting to give more of Khorneate feel to the armor. Alternatively, I could use one of the Dark Eldar Scourges. In particular this one.

descourgeexample

The pose is similar, it already has wings, the hands are already humanoid, the feet are avian-ish, and it’s already carrying a spear! I would just need to alter the back of the torso so it’s less technological, add an appropriate shield, and some up with a head. There would still be some sculpting involved to give the armor more of a Khorneate feel, but it wouldn’t require as much work.